Wednesday, April 20, 2011

Saturday, April 16, 2011

Easy Asparagus Tart


It's been "Martha Stewart Revival Days" lately at our house.  First it was the Chocolate Crackle Cookies, then I pulled together a fantastic Cobb Salad with guidance from the Everyday Food Cookbook, and finally, this tart.  Not only does it scream spring, but it goes splendidly with a nice glass of red wine.  Or two.

I ended up making a smaller scale version because a) I had only a small bunch of asparagus, not enough to fill an entire rectangle of puff pastry, and b) our little family of three didn't exactly need to eat a large rectangle of puff pastry.  After all summer will be here soon.  Summer = summer clothes and summer clothes= take it easy on the puff pastry.

We ate slices of tart along side a bowl of veggie soup for dinner.  It would also make a terrific appetizer or happy hour snack.


Asparagus Tart
Adapted from Everyday Food from the Kitchens of Martha Stewart Living


1 sheet of puff pastry, thawed in the refrigerator
1-2 bunches of asparagus (you will need two if using the full sheet)
1 - 1.5c Gruyere cheese
olive oil

Heat oven to 400F/200C

Directions

1.  Wash asparagus and trim the ends.

2.  Roll out the puff pastry and cut into a large rectangle (or whatever size you need to fit how much asparagus you have).

3.  Place on a parchment lined baking sheet.

4.  Using a sharp knife, gently cut (deep but not all the way through) a one-inch border around the perimeter of the dough.

5.  Pierce the inside several times with the tines of a fork.

6.  Bake for 10-15 minutes.  Check at 10 minutes.  You want it to be lightly golden brown but not too done since you will bake it again.

7.  Remove from oven.

8.  Sprinkle the cheese all over the puff pastry.

9.  Carefully place the asparagus spears on top, alternating ends to tips.

10.  Brush with olive oil and sprinkle with salt and pepper.

11.  Bake an additional 20-25 minutes until asparagus is tender-crisp.

12.  Remove from oven and cool slightly.  May be served warm or at room temperature.

Monday, April 11, 2011

You say Hummole I say Guacamus


I can't say Guacamus without thinking of Festivus.  "A Festivus for the rest of us!" according to Seinfeld's Frank Costanza.

Okay, so it doesn't quite measure up to the excitement of Festivus, but hummus + guacamole comes very close.

I came across the idea in the Danish women's magazine Alt for Damerne.  My friend Mette shares her copies with me.  It's a great way to practice reading Danish, and there are articles on everything from the challenges of motherhood and career to fashion, health, beauty...and food.  It's not quite the same as reading People or Vanity Fair or even Saveur, but it's an excellent substitute.

The original recipe for Hummole calls for soaking a bag of garbanzo beans overnight.  Ordinarily I do this because--as you've heard me whine at least a thousand times before--it's not always easy or convenient for me to find canned beans.  However, I happened to be in one of the two markets in my town that carries canned garbanzo beans so I went for it.  In case you're wondering, there are 12 grocery stores in my small town.  Most are not much bigger than a 7-11.

If you use canned beans you can make this spread in a matter of minutes.  It's great as a veggie dip but can also be used as a sandwich spread or an accompaniment to chicken or fish.


Guacamus
Adapted from Alt for Damerne

2 cans garbanzo beans
juice of 1 large lemon
2 t cumin
1/2c olive oil
2 garlic cloves, roughly chopped
A couple of handfuls of parsley leaves
2T tahini
2 avocadoes, peeled, pitted, and coarsely chopped

Directions

1.  Combine garbanzo beans and lemon juice in a blender or food processor.  Blend on high for approximately 1 minute.

2.  While mixer is running, slowly add olive oil and blend for another minute.

3.  Add cumin, tahini, parsley, and garlic.  Blend well.

4.  Add avocado and blend 30-40 seconds.

5.  Mixture should be thick but not dry.  If it is too dry, add a little more lemon juice and/or olive oil.

Store in an airtight container in the refrigerator up to five days.

Tuesday, April 5, 2011

Chocolate Crackles

What if I told you about a cookie that is chewy like a brownie and decadent like a truffle.  Would you be in? We're talking the most rich and decadent chocolate treat imaginable... that also happens to be cute as a button.


See?  I'm not sure whether cute is the right word.  Dramatic might be more like it.  But who cares.  I simply love the look of the white crackles against the color of the deep dark chocolate.

Don't live one more day without trying these cookies, people.

At least promise me you'll add them to your "I want to bake THAT!" list.


Chocolate Crackles
Adapted from Martha Stewart

8oz. good quality dark chocolate (70%)
1 stick butter, room temperature
1 1/3 c. brown sugar, packed
1 1/4 c. all purpose flour
2t baking powder
1/2t salt
1/2 c. cocoa powder
2 eggs
1/3 c. milk
1t vanilla extract

Directions

1.  Melt the chocolate and set aside to cool.

2.  Combine the butter and brown sugar and whip until light and fluffy (a hand mixer works best)

3.  Sift the flour, cocoa powder, salt, and baking powder together and set aside.

4.  Pour the melted, cooled chocolate into the butter-sugar mix and combine thoroughly.

5.  Add the eggs and the vanilla.

6.  In alternating steps, add the dry mix and the milk.  Mix until just combined.

7.  Working quickly, roughly divide the dough in fourths.  Place each piece (it will be a wet, sticky "piece") into a piece of plastic wrap.  Cover the dough with the plastic and form into a rough log shape.  It does not have to be perfect.  Repeat with the remaining dough.

8.  Place dough logs in the freezer for 30 minutes or refrigerate several hours (overnight is okay, too).

9.  Preheat oven to 350F.

10. Remove one log at a time and, using a sharp knife, cut into rough 1-inch pieces.

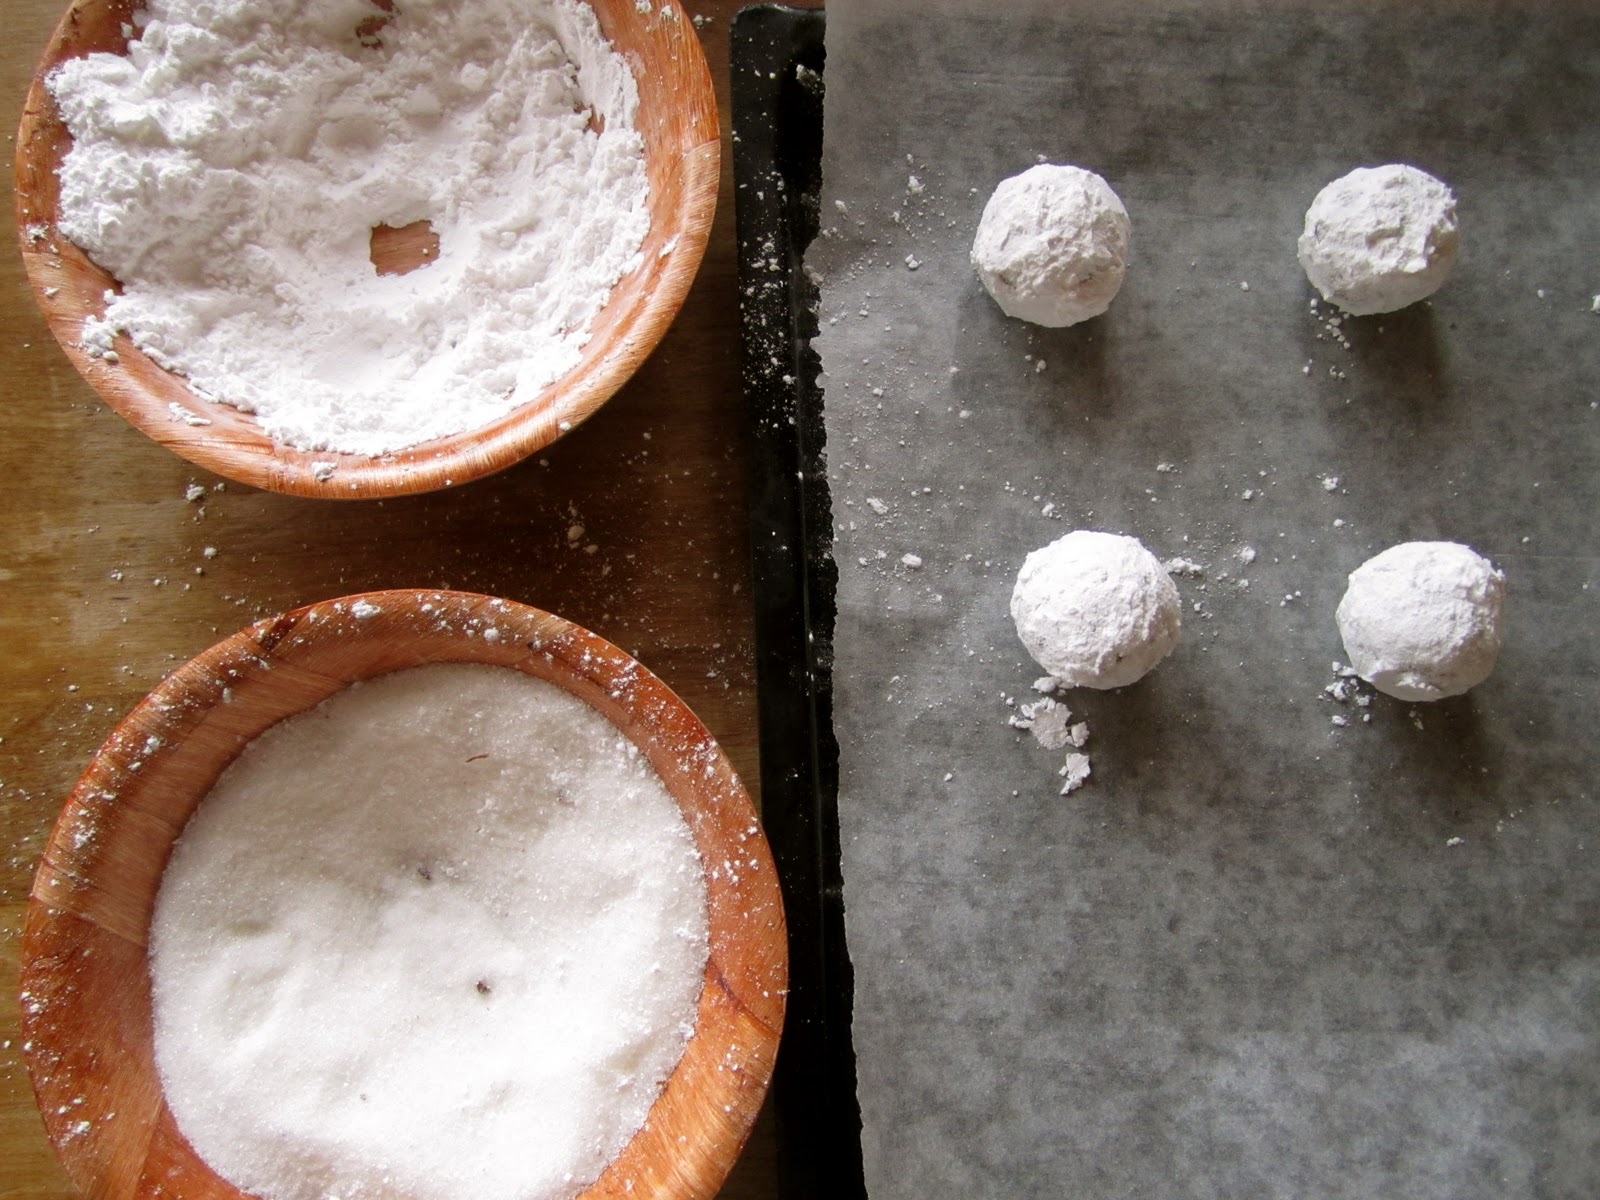
11.  Prepare one small bowl (a cereal size bowl works well) with granulated sugar and the other bowl with powdered sugar.

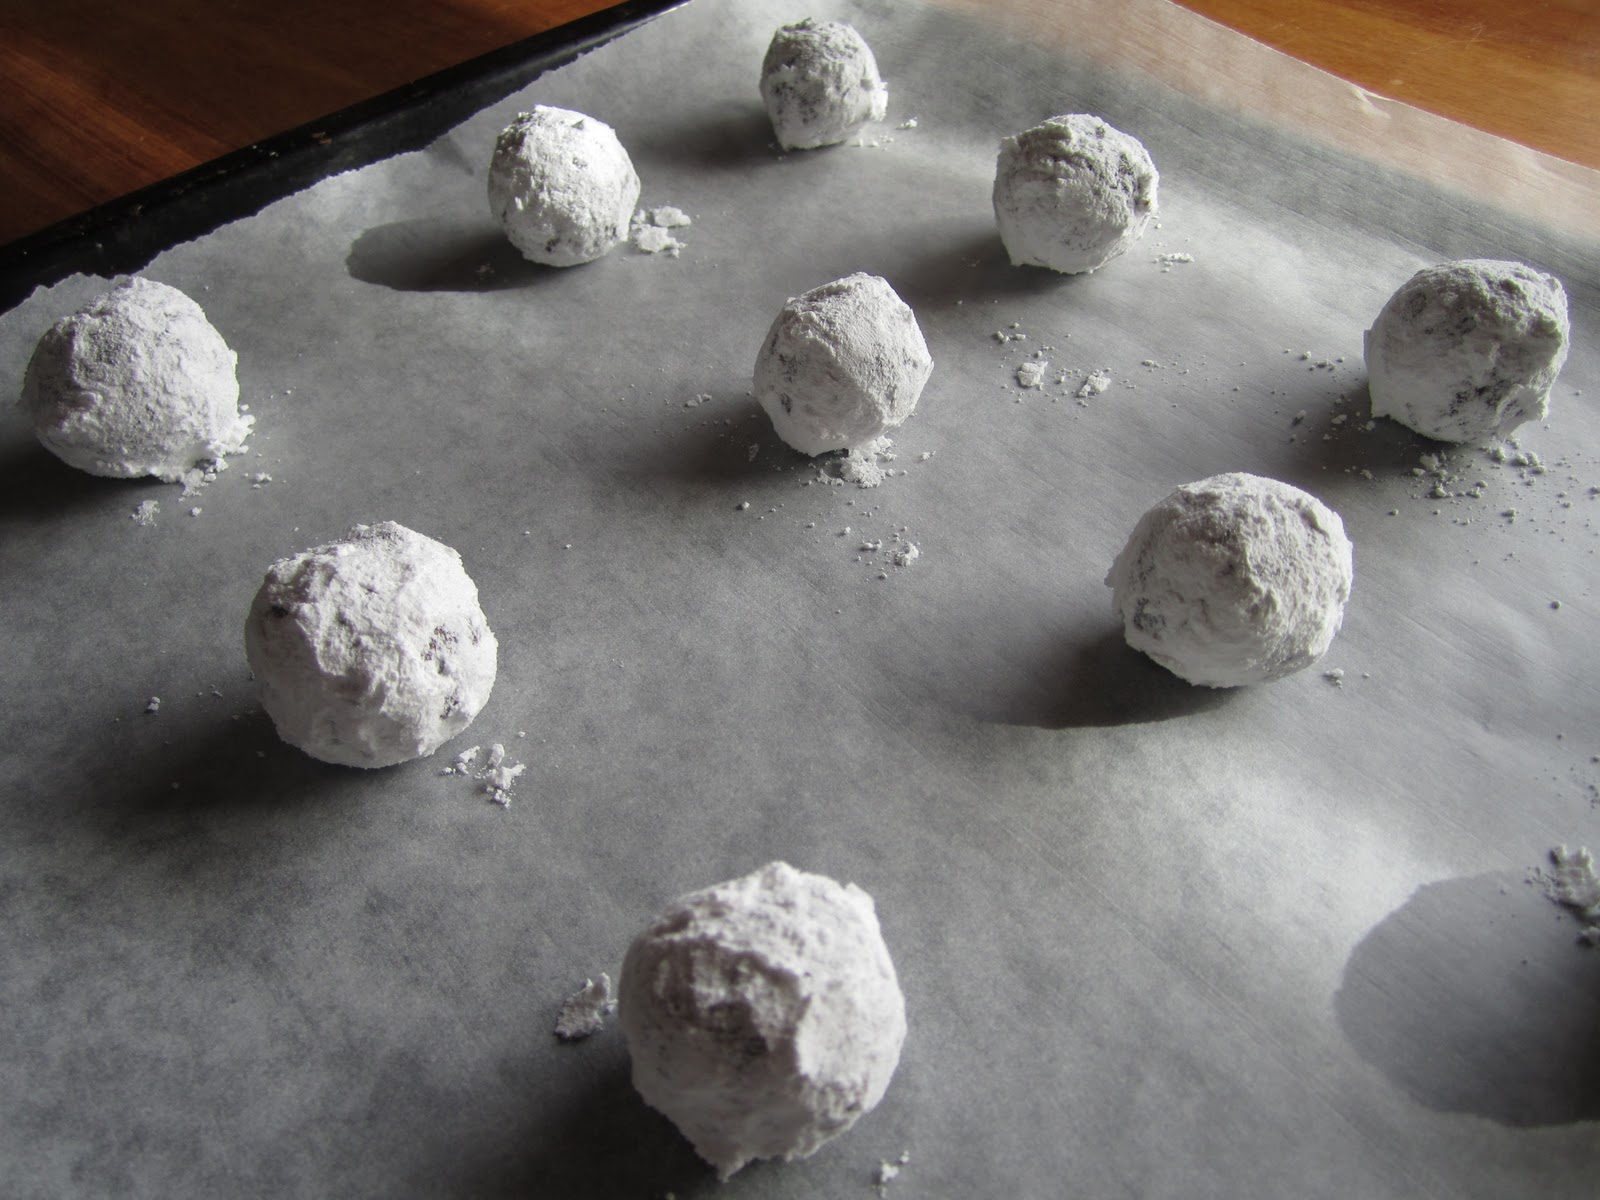
12.  Take a piece of dough, quickly dredge it in the granulated sugar, roll into a ball using your palms, and dredge in the powdered sugar.  Important:  make sure you get plenty of powdered sugar (you don't want to see any brown) or else you won't get the strong white crackly effect.

13.  Place balls of dough on a parchment lined cookie sheet and bake for 8 minutes; rotate the cookie sheet and bake an additional 3-4 minutes.

14.  Cool on a cookie rack and store in an airtight container up to one week.